


 Not too long ago, when my husband asked me (probably for the 50th time), “What are you going to do with all these greeting cards we’ve received over the years? Can we please get rid of some?” I knew I was in trouble. After 8 years together, I can easily distinguish between his “just asking” and his “not really asking, it’s going in the trash unless there’s a good reason for it” tones. This time, it was definitely the latter.
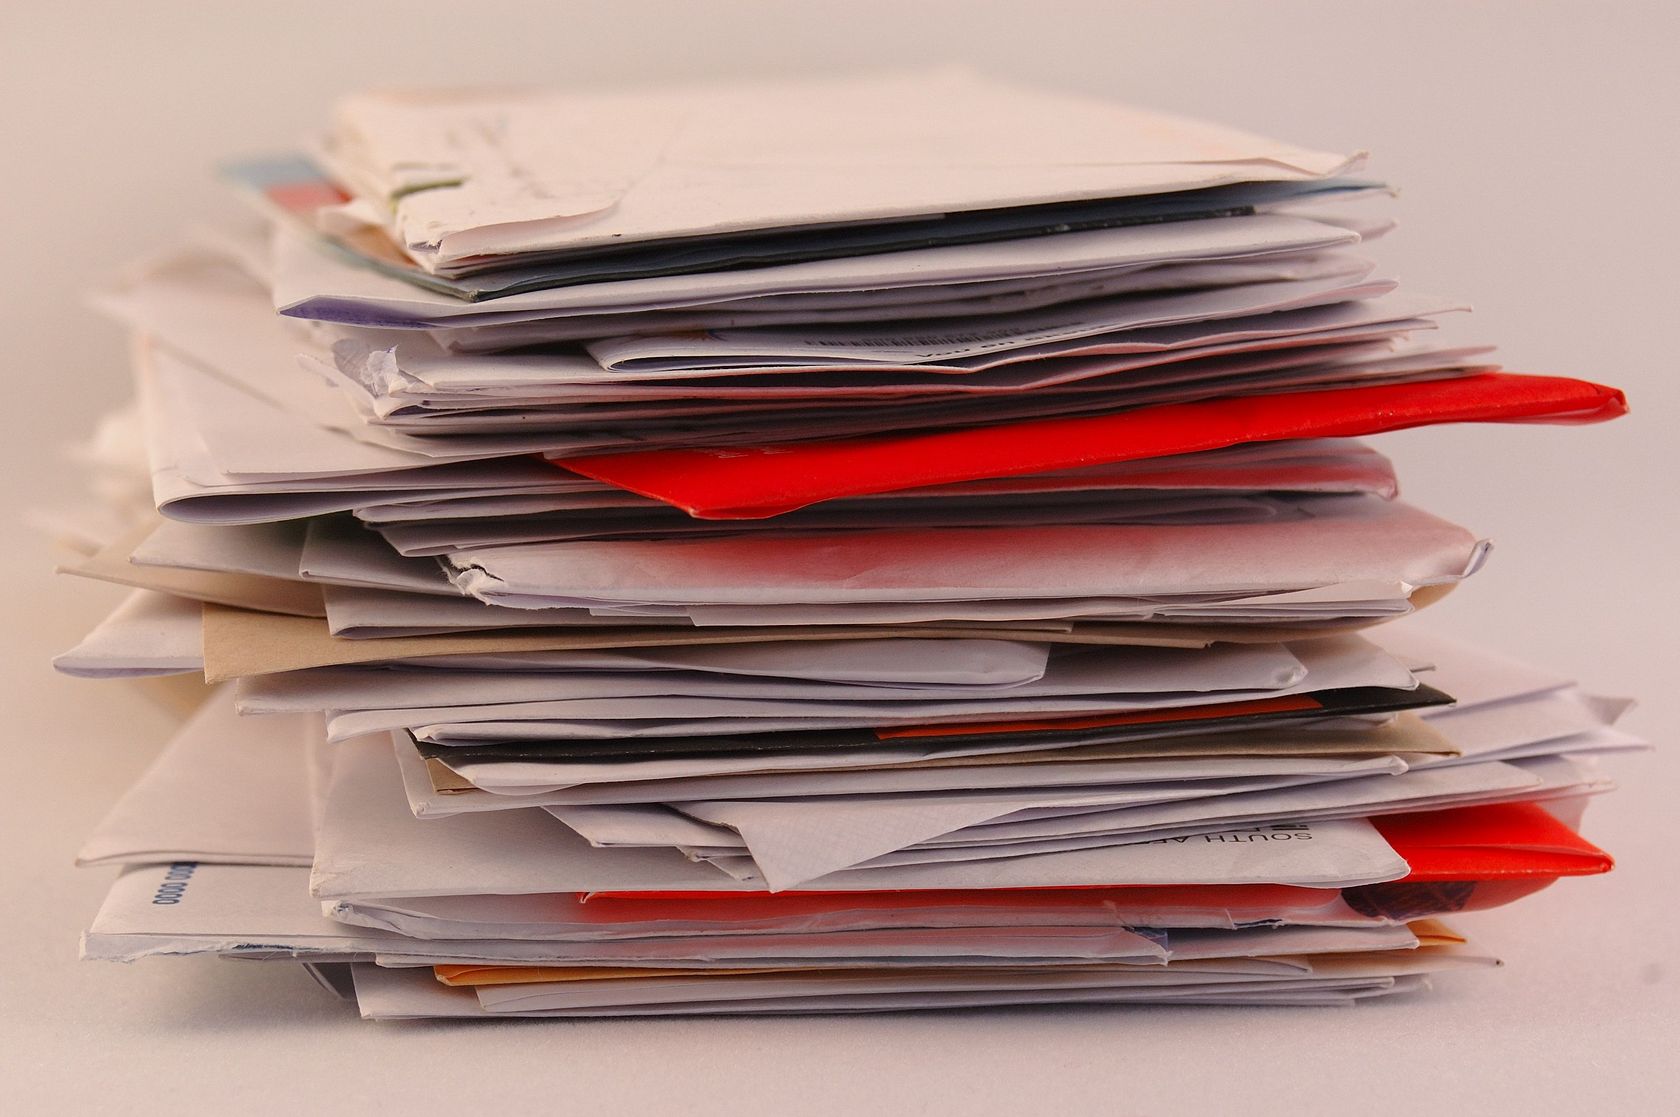
And I can’t say that I blame him. Every time I walk into our study, it feels like the greeting cards are lunging at me from all directions. I’m willing to bet that you have a stash somewhere too. If you’re anything like me, you’re too sentimental to toss them. But at the same time, you’re probably fed up with the card invasion and their (successful) take-over of your home too, right?
My choice was clear: either I had to do something about the cards, and fast, or they were going to end up in Hallmark heaven at the hands of my dear husband. That’s when the dash of creativity hit me. (I’ve always thrived under pressure).
You’ll need:
Book rings (available in a variety sizes from any office supply store)
A (single) hole punch (you don’t need a crazy monster one like mine, a standard hole punch will suffice)
A Pen
That dusty shoe box full of cards

Step 1: Pull out that shoe box and dust it off. Sort through your cards and separate them to your liking. (You can categorize them chronologically by dates or years, or, by occasions, senders, recipients, card sizes, or however else you choose). If you’re not OCD, a I am not, or if you’ve got little patience for crafts, feel free to just bunch all the cards together in no particular order.
Step 2: Take your stack and arrange the cards in the order that you’d like to see them. I prefer to arrange mine by size – smallest in the front to largest. Then, lay the stack on its left edge (card front facing you) and tap the stack on a hard surface to align. Repeat with the stack standing on the bottom edge. This makes sure that all the edges are aligned. (Again, if you’re not the obsessive type, you can skip this arranging step too. Just make sure that all your cards’s edges are matched up).
Tip: The card you choose to put at the very front will also serve as your book’s “cover.” So pick a pretty one. Or one that makes you smile.
Step 3: Once the cards are aligned, use a pen and mark off where the holes will be punched on each card. The placement of the holes is up to you but make sure that the position of the holes is the same on each card so they will all match up and the cards will be aligned when you put them together. *Note: this is a very important step because if the holes aren’t placed in the same position on each card, they will be askew and your cards will not align properly.*
Tip: You can choose whether you want to add only one hole (at the top left hand corner of each card) so that only one ring will hold the cards together, or, you can choose to place holes along the left side of the cards so that they will appear more binded, like an actual book. If you choose to go with the latter style, you can choose between two holes or three. Usually, if I have larger cards in my stack, I go for three holes.
Step 4: Punch your holes at the pen marks.
Tip: to maintain consistency, I center my hole punch over each pen mark.
Step 5: Open up your book rings and slip each card through. Once you’re done, close the book rings and voilà!

Tip: If you want to take it up a notch, spray paint or decoupage the book rings in your favorite color (or print) beforehand so they’re not the generic metal silver.
This is such an easy project. You don’t have to be a craft expert to do this. And, it’s great for little hands to help with if you’ve got little ones. Let them help you slide each card onto the book rings – they’ll love it! (Hand eye coordination, anyone?) Functional, fun AND educational! It’s a win-win-win. All-in-all, a few holes punched and a couple of book rings later, you’ll have yourself a neat card book and a keepsake to keep your sentimental side satisfied. I’d say we conquered the take-over.
Card invasion: 0. Creative chick: 1.

Let me know how yours turn out!


Great idea about storing greeting cards. Can’t wait to try this out!