


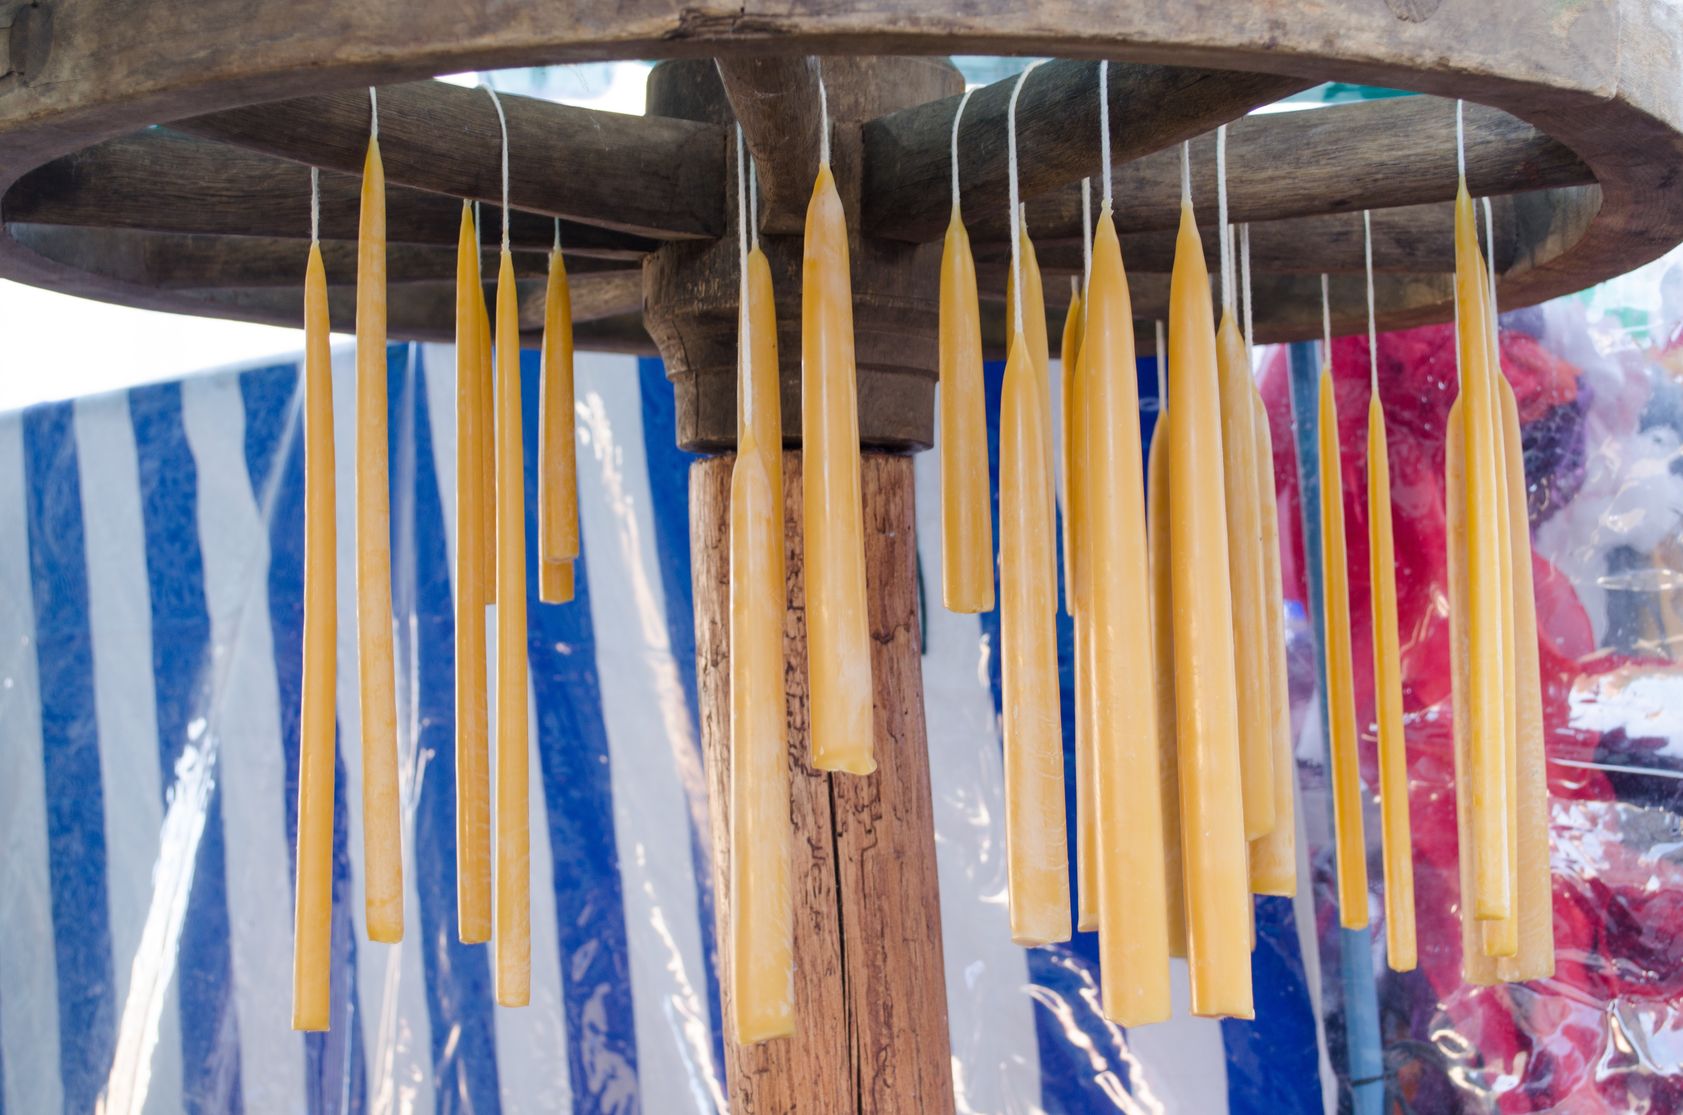
 Who doesn’t enjoy the rich, warm glow of a sweetly scented candle burning on a chilly winter’s night or the soft, relaxing illumination they bring to a soak in a luxurious bubble bath? Mind, body, soul and nose, candles are truly a symphony for the senses. However, in order to ensure a richly aromatic, long-lasting candle, you have to spend a pretty penny. And so often, you can’t find the exact scent you’re wanting. Well, did you know that making your own candles is actually very easy and a fun way to keep your home smelling and looking just the way you want?
There are many types of candles you can make, but the fundamentals are pretty much the same across the board. And the more you delve into this fun craft, the more you can experiment and play with various styles, waxes, molds, scent combinations and more. But let’s start with the basics.
What You’ll Need:
– Double-boiler. If unavailable use a small saucepan inside a larger one.
– Candle wax—choices are endless from gel to bee’s wax to paraffin and more. These instructions are for standard paraffin wax, but feel free to experiment with others.
– Candle mold
– Wicks
– Heat source – Stove
– Mold release agent
Specialized candles need any of the following:
– Fragrant oils—you can find these are natural health stores, some bath and body shops, online and sometimes even at craft stores like Hobby Lobby.
– Wax Color Blocks or Dye—these can be found at craft stores.
– Embedding objects
– Ribbons
Instructions:
Step 1: Coat the molds with release agent. Allow enough time for the release agent to completely dry.
Step 2: Place about 1-2 inches of water in the bottom of the double-boiler.
Step 3: Place the wax in the top part of the double-boiler. Wax will melt quicker if it is cut into smaller pieces.
Step 4: Secure the wick to the mold.
Step 5: Once the wax is melted, remove from heat. Scented oil and color should be added at this step. Color, add small amounts at a time until the desired hue is reached. Just before pouring add the fragrance oil to prevent loss of perfume due to the heat.
Step 6: Carefully pour the melted wax into the mold..
Step 7: Allow the candle to completely harden before removing from the mold.
With the wide variety of options of wax, molds, essential oils, colors, decorating tools and combinations within these, the possibilities are endless, which is what makes this craft so enjoyable. And a quick side note—homemade candles make very welcomed and thoughtful gifts!